Showing posts with label Tutorials. Show all posts

Thursday, February 26, 2015

Garden nail art using stamping decal technique

Hello friends! This week has been real busy, too many things to catch up at work and home. As you all know I have been actively participating in 'Nailthattechnique' challenge and this week's theme is stamping decal. I was looking forward for this week's challenge as I have always struggled placing the stamping decal; some of my previous attempts of making decals are here and here.

This is my attempt for the challenge. I used my long pending unused Moyou London Mother Collection 01 plate for the decals. I am really happy with my attempt this time although I found placing the decal and clean up process a bit challenging. The dents and bumps are clearly visible.
Despite this, I feel confident and I am sure if I try this technique a few times the final result would be nice and smooth.


Tuesday, July 1, 2014

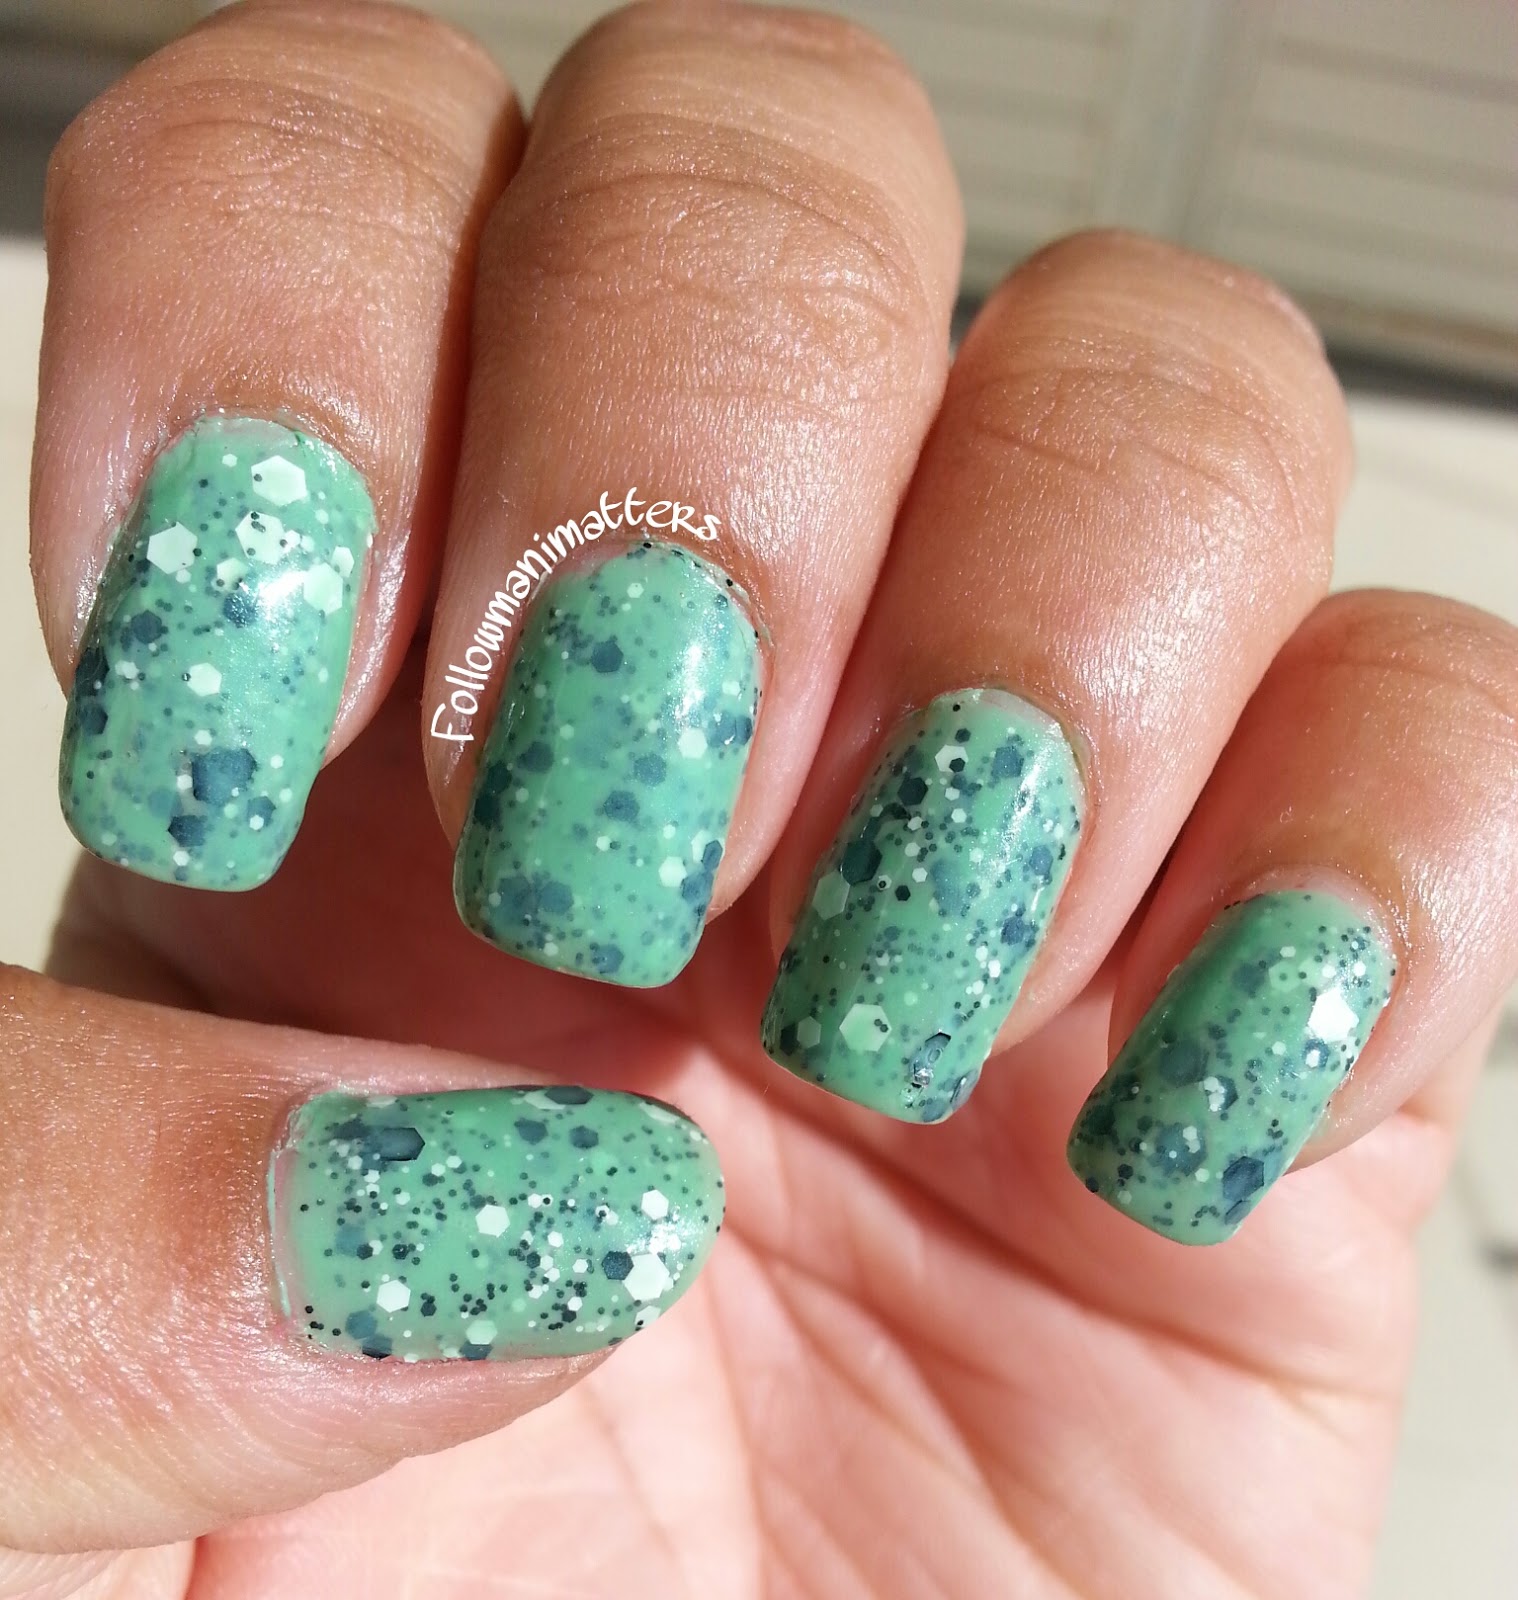
Mint blue pattern nails

Hi buddies! Today starts the OMG2NAILS challenge that would last for entire month of July. I have decided to participate in this challenge. Although doing nails everyday is not possible I will try my best to come with lots of manis this month :) So stay tuned.

Today's theme is Mint.Here is my design, its inspired by +MissJenFABULOUS . Check out her video for more details.


Monday, April 14, 2014

DIY Speckled Nails - The Neverending Pile Challenge: Pastels

Hey Fellas! How was the weekend? Mine was ok. Did nothing exciting.  Today I have Speckled nails using Pastel color and glitter polish.

Monday, March 17, 2014

Happy Holi - Splatter Nails tutorial

Hello All, Wish you Happy Holi!!! I am so excited today :) Have you got your colors and pichari ready for holi?

I am wearing this colorful splatter nails for Holi. Aren't these perfect for Holi?

Tuesday, January 14, 2014

Dry marble nails

Hello All, I am presently enjoying doing nail art. I am trying out new nail art techniques and experimenting with colors. This week's #ILLNAILCHALLENGE on Indian Lacquer Lovers group was Dry marbling. Here is my attempt of dry marbling.

If you are wondering what dry marble nail art is - It is nothing but creating patterns similar to water marble nail art however without using water. Although you can't really create exact patterns like water marble designs but you can make beautiful swirls. These remind me of waves.


Sunday, October 27, 2013

What are FOUNDATIONS and How to choose one

Hey friends! How are you all doing? Sorry for MIA my toddler son was sick last week, he is fine now :) Just wanted to share with you all that I have been nominated 'Versatile Blogger' award by some of my blogger friends. Thank you all for it. I will talk about the award in my coming posts.

This is long pending post. I have received so many requests to do a post of make up essentials. I am starting with Foundation.

What is a Foundation?

Per Wikipedia, Foundation is a skin colored cosmetic applied to the face to create an even, uniform color to the complexion, to cover flaws and sometimes, to change the natural skin tone.

Before you choose a foundation, it is very essential to understand your skin tone and type. Foundation should always be an exact match of your skin tone. While trying out foundation always apply it on your jawline instead of wrist. This would give a better idea on how the product would look on the face. I have observed that many tend to go for a shade lighter than the actual skin tone which makes them look so artificial. Probably coz folks feel this would make them look gori gori (fair skin tone).

These days there are wide variety of foundations available in market; it is difficult to decide which one to go with. Here are some tips that will help you find your match.


     Identifying Skin type:

    • DRY SKIN – For people with this skin tone, foundations which are cream based, liquid cream based work the best. These give a much needed dewy look. It is always advised to moisturize skin before applying a foundation. Matte finish/Oil free foundations should be avoided.
    • NORMAL/COMBINATION SKIN – I would say people having this skin type are really lucky as their skin is not extremely dry or oily.  They can choose anything from liquid, cream-to powder compact, stick foundations. Matte finish/Oil free foundations should be avoided.
    • OILY SKIN – Oil free, matte foundations, pressed powder foundations, mineralized powder/loose powder based foundations work best for this skin type as they soak excess oil from the skin. Cream based foundations should be avoided.
Identifying Coverage:
    • If you have clear skin and even tone you would need a foundation with sheer or light coverage.  I would suggest to go for a BB cream or tinted moisturizer.
    • If you have light pigmentation/pimple/acne scars, look for something with medium coverage. Note that you can always build up foundation by adding more product.
    • If you have really bad acne scars/spots that you want to hide then go for a full coverage foundation. You could also use a good concealer to hide marks.
At the end of the day, make sure you remove make up else this would lead to clogging of pores and you will end up having pimple/rashes. For beginners, I would recommend using products that are not waterproof. You could apply foundation using use either your fingers/foundation brush, make up sponge. I prefer using my fingers.

I have very dry skin and have used Liquid foundation, cream based stick foundation (all through the year) and all in one base foundation too(which I use in summers & rainy seasons). Off all these I really love my stick foundation – Loreal Ideal Balance Quickstick Balancing Foundation – Buff Miel 335.

Friday, October 11, 2013

Ombre Leopard Print nails

Hello Friends,

Friday is here and I am on my way back home from work :). This weekend is going to be full of Dasera celebrations. Have a great weekend folks!!!

Now coming to today's post, I simply love leopard prints and wanted to come up with something different. So here is the Ombre Leopard print nails mani.


Monday, September 23, 2013

Blue Monochromatic Nails - Inspired by Chelseaqueen


Hello Friends, today's mani is a recreation of Chelseaqueen's blue Monochromatic nails. This is one of my favorite manis. I love all her creations, they are unique and simply amazing. Hats off to her creativity.

Thursday, September 19, 2013

HALF MOONS WITH NEWSPAPER PRINT NAILS

 Hey friends! How are you doing? It has been a busy festive week with Ganesh Celebrations. There were  lots of events organized at our society – Antakshari, Fashion show, cooking competition, etc. Had a great  time.

Today I have a very easy mani for you guys. It’s a combination of half moon and newspaper print nails. I used Black and White combo for this look.

Newspaper print nails have become a trend these days; they look so cool. There are various techniques to get newspaper print nails (rubbing alcohol, water). I did not have rubbing alcohol and was googling on alternatives and found mouthwash technique.


Friday, September 13, 2013

GRAY, WHITE, SILVER and GOLD LEOPARD PRINT NAILS

Hey buddies, last week I painted my nails with GRAY, WHITE, SILVER and GOLD leopard print and received lot of compliments and queries on how I did it. I love animal prints and leopard prints are my favorite. They are very simple and easy to make. It hardly takes any time to do this print.


Monday, September 9, 2013

Water Color nail art

Hello friends, how was the weekend? 

Mine was pretty good. I did lot of stuff - went for a hair cut, shopped clothes and shoes for my son (his play group would start pretty soon), made ladoos for Ganesh Chaturthi and fasted yesterday - Hartalika Vrath for my husband's long life :) 

Was that too much of me?? (Hmmm...shhhh...long silence)

Alright now coming to nail art; water color nails are so much in trend. I wanted to try this nail art on my nails. Loved the result although the borders are not perfect but that is ok, I am still learningJ. This shows I need to practice free hand nail art real hard.

I have seen nail artists do water color nails using acetone or a plastic bag. I did mine using acetone. 

To create water color nails, you will need

  1. Acetone/Polish Remover
  2. 2 Brushes – thin for borders, medium to thick for acetone. I used camlin paint brushes
  3. White polish
  4. Nail polishes of your choice
  5. Nail polisher remover
  6. Q tip

Monday, September 2, 2013

Easy and quick Nail Polish Removal technique


Hello Readers! Hope you had a lovely weekend.  Well mine was pretty busy. I had taken up the task of cleaning home, washing all the laundry..very tiringL. Once the work was done, my loving hubby took me out for the movie - Madras CafĂ©. It’s an amazing movie folks do watch it. I must say John Abraham’s acting skills have really improved.
After so much of blabbering, let me talk about a cool technique of removing nail polish. I found this technique on http://gingerbreadmanne.blogspot.in/2010/09/5-minutes-nail-polish-removal-tutorial.html and thought of giving it a try.
Here is all you need –
  1. A ball of cotton cut into thin small pieces good enough to cover your nails
  2. Polish remover

Monday, August 26, 2013

Argyle Nail Art

Hey buddies, let us see how to do these Argyle nails. I found this art interesting and thought of trying it. These prints are usually found on socks and sweaters. The nail art looks pretty complicated but it’s not. It can be done using a thin brush/toothpick or a striper; if you are not very confident on using these then simple tape will work fine. 


Wednesday, August 21, 2013

DIY - CUTICLE OIL


Hey Folks, today I am going to talk about how to make your own cuticle oil.

Do you have weak nails, dry cuticles, cracked skin? Then Cuticle oil is the solution. Cuticle oil helps treating dry cuticles, dry skin around the nails and nail strengthening. Even if you have healthy nails, you can still use this cuticle oil to moisturise your cuticles.

Let me share something about myself. I have always dreamt of strong, long nails but had weak nails that would chip and break easily. When my passion towards nail art grew, I decided to pay some attention to them.

I follow a lot of nail art channels and blogs. I see that many of the nail artists use Cuticle oil, Cuticle creams, and Nail strengtheners. I thought let me give it a shot and see if things work. When I found out the cost of Cuticle oils and creams they were pretty high. Then I thought to make something at home.

Saturday, August 17, 2013

SARAN WRAP NAILS (PLASTIC BAG NAILS)


Hello, today I am going to talk about Saran Wrap Nails. This is a simple nail art created using plastic bag (Saran wrap). For someone new to the world of nail art, these are easy to create and look very stylish.

Here are some of the pictures of my Saran Wrap Nails. I used Wet n Wild Megalast – Color Haze of Love and Wet n Wild Fergie – Gold Album. You can use colors of your choice. Make sure to use two contrasting colors to highlight the look.